See below six ways to take a screenshot on a Windows PC, both using Windows tools and keyboard shortcuts
In Windows, it is possible to take a print screen, also called a screenshot, in several ways, either using tools from the operating system itself or using shortcuts on your keyboard. So, see below how to take a print Screenshot on a Windows PC. For this tutorial, a computer with Windows 11 was used.
Table of Contents
1. How do I take a screenshot on PC keyboard?
Some keyboard shortcuts for you if you are looking for how to take a print on your Windows PC quickly:
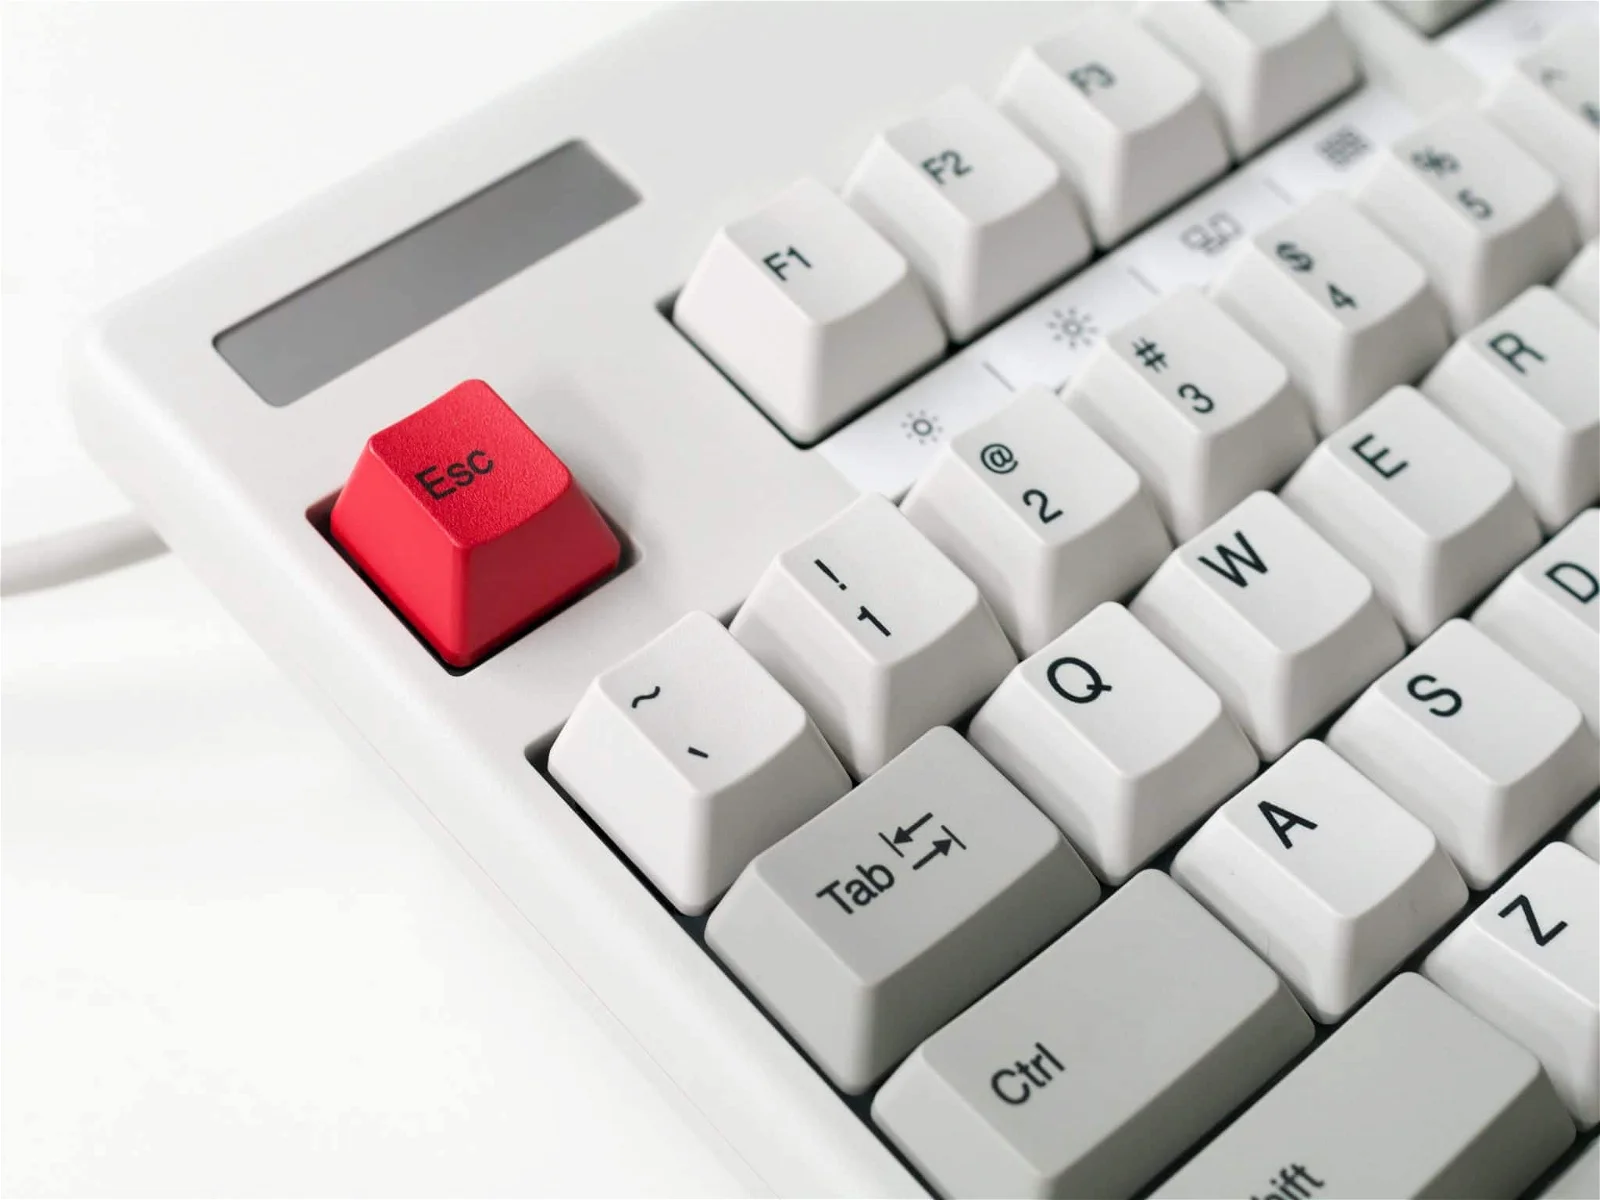
Windows + Print Screen
To take a quick screenshot of your active window (the one you’re using), go straight to the Windows + PrtScn keyboard shortcut. This will take a screenshot of your active window and copy the image, which will be saved in the Images folder on your PC.
Windows + Shift + S
You can also use the Windows + Shift + S shortcut to capture a screenshot. Your screen will darken and you will see the small Snipping Tool menu at the top, which will allow you to choose the type of screenshot you want to take.
2. Snipping Tool
In the tool, the default cropping type is rectangular, but it is also possible to capture the entire screen or just a window. The app doesn’t automatically save captures, so you’ll need to save them manually. However, it immediately copies everything to the clipboard.
The types of clippings offered by the Capture Tool are as follows:
- Freeform Cutout: Draw a freeform shape around an object;
- Rectangular capture: drag the cursor around the object to form a rectangle;
- Window capture: select a browser window or a dialog box;
- Full-screen snip: Capture the entire screen, including all open windows.
How to open the Snipping Tool
There is no need to download the app, it is already part of the operating system, just search for it.
- In Windows 10 and 11: Select the “Start” button > type “Snipping Tool” in the search and open it.
- In Windows 8.1 and Windows RT 8.1: Swipe from the right edge of the screen (Charm bar) > tap “Search” > type “snip tool” in the search box and open it from the results.
- In Windows 7: Select the “Start” button > type “capture tool” in the search to open.
3. Print Screen button
The classic that everyone knows is to use the “Print Screen” (PrtScn) button to capture the entire screen. This way, the screenshot will not be saved as a file but will be copied to the clipboard. You will need to open an editing tool to adjust the capture and save it there. One tool that can be used is Paint itself, already available on Windows.
4. Xbox Game Bar
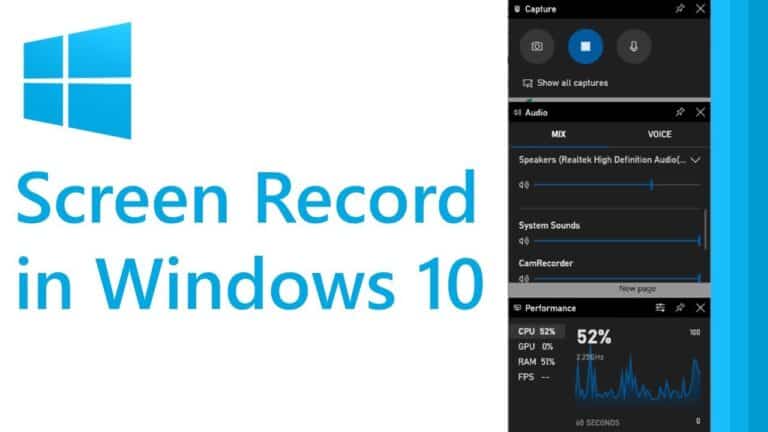
Using the Xbox Game Bar, you can also take Screenshot on a Windows PC. When opening the application, which has its options at the top of the screen, you can take a screenshot using the “Capture” button. If you don’t have the app on your PC, just download it from the Microsoft Store. After capturing it, you can also share it on Twitter or generate a meme including captions.
You can see the prints taken in the “See my captures” option. You can also change the destination folder for screenshots in “Settings” > “Games” > “Captures” > “Screenshots and game clips will be saved in”.
Where is the PC screen print saved?
Each capture mode has a different process for saving the image, so it depends on which of the ones presented above you chose to take a screenshot of your PC screen.
5. How to take a screenshot and crop the image on the PC?
Using the Capture Tool, you can now edit the image, cutting or highlighting parts with the Highlighter and Ballpoint Pen features. In any case, you can use Paint to make print screen edits.
6. How to take a screenshot of an entire page?
There are some extensions that allow you to capture an entire, complete page. In Chrome, for example, we have the Nimbus Capture and Awesome Screenshot tools.


